

Table of Contents
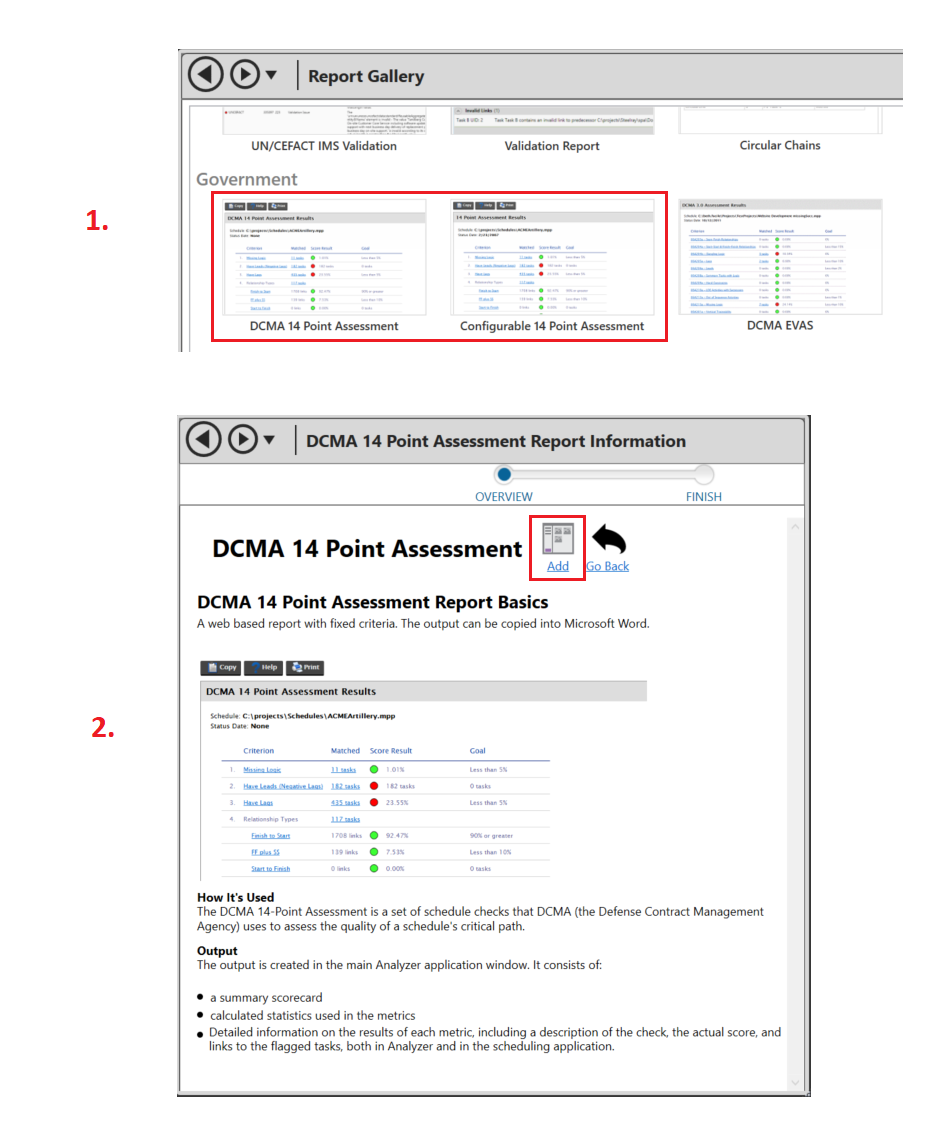
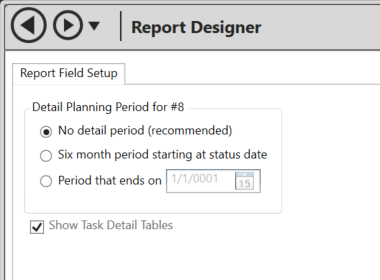
Next, you can configure the report's Detail Planning Period and set whether or not to display the Task Detail Tables. The Detail Planning Period setting is used by criteria #8 which is a check for High Duration. This will test to see if more than 5% of tasks have a baseline duration of greater than 44 days. By default, this criteria will check the entire schedule, but you can choose to only check tasks within a Six month period starting at status date or a Period that ends on a specific date. The Show Task Detail Tables checkbox will be unchecked by default. If checked, the 14 Point Assessment results will include tabular information about tasks that fail the criteria.
Since Microsoft Project does not explicitly define what a Level-Of-Effort task is, Project Analyzer provides a number of way to specify an LOE task. The default option is not to identify LOE tasks. If these are not specified, all tasks are included in the assessment. LOE can be identified in a custom flag field. In a custom flag field, a value of “yes” indicates that this is an LOE task. LOE can be a filter. SPA will execute this filter to identify LOE tasks. LOE can also be a custom text field. In the below example, Text6 will contain the text "LOE".

Feel free to change the LOE settings at any time. The next time you analyze a schedule, the updated LOE will be applied.
The Critical Path Test and the Critcial Path Length Index criteria, which will only run on tasks in a Microsoft Project file (.mpp), require a completion task in order to run. While Analyzer automatically selects this task, there may be a case where the user would prefer to select this task themselves. To set the completion task, enter the GUID value from a task in your mpp file.

Like the LOE settings, the Completion Task can be changed at any time. The next time you analyze a schedule, the updated Completion Task will be applied.
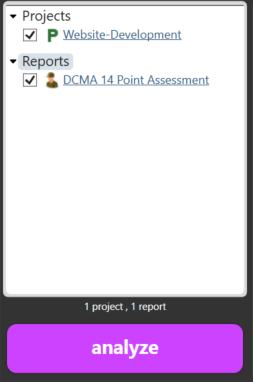
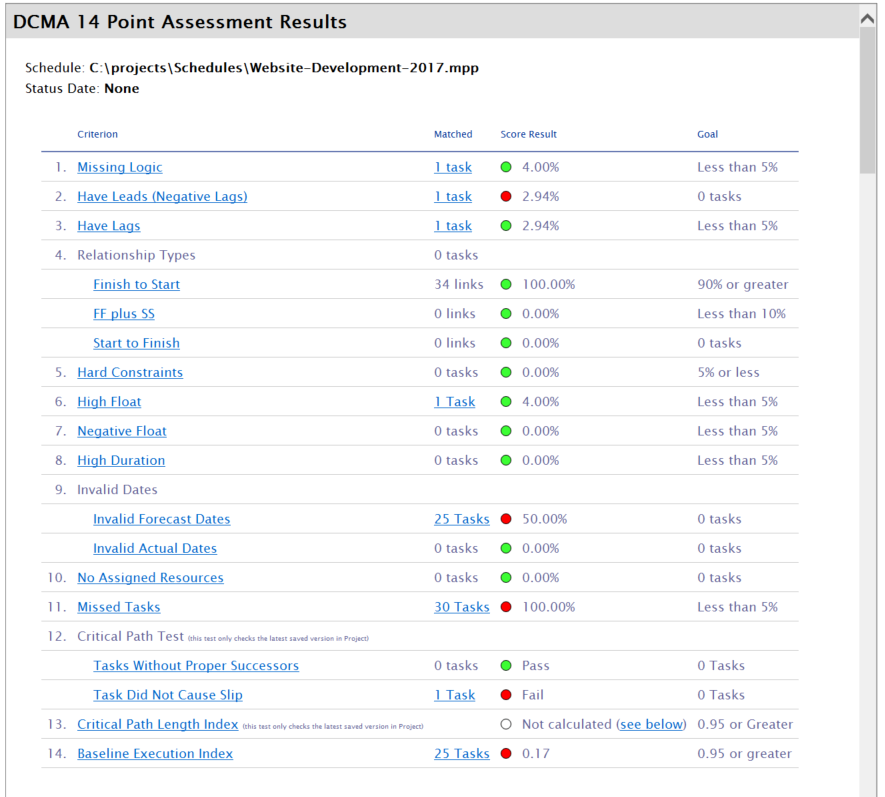
If the assessment was run from Microsoft Project or Project Server, Project Analyzer provides the capability to filter the matching tasks within Microsoft Project so that you can quickly identify possible offenders. Simply click on the Matched count in the results and the schedule will open in Microsoft Project, with the matched tasks displayed.
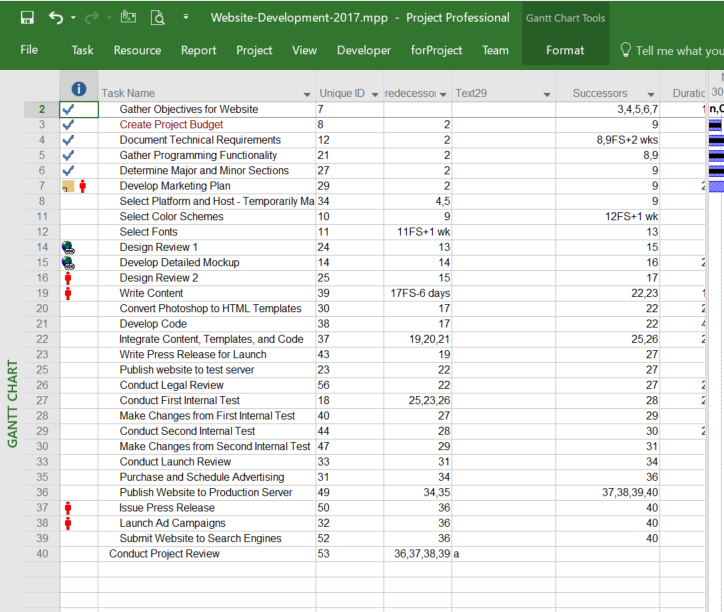
If the file is a P6 XER file, and Steelray Project Viewer is installed, then the given project will be opened and filtered into Viewer. If the file is located in Primavera, the matched tasks will be marked with a filter called "SPA: Marked Tasks". Select this filter in Primavera to view the matched rows. If you click another link in the Scorecard, hit F5 to refresh the view in Primavera.
Clicking on a criterion name will link to more details about the criterion and the results.
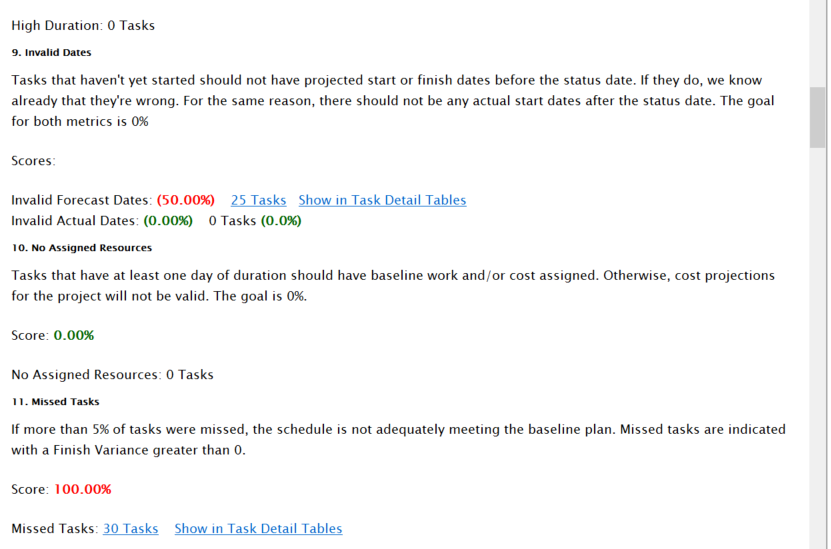
From here, there will be a count of any tasks that are matched. As with the project filter noted above, you can click on the matched count to open the schedule in Microsoft Project with the matched tasks displayed. If you selected the Show Task Detail Tables checkbox on the Report Settings, and if any tasks match the criterion, you will also see a link to view those tasks.
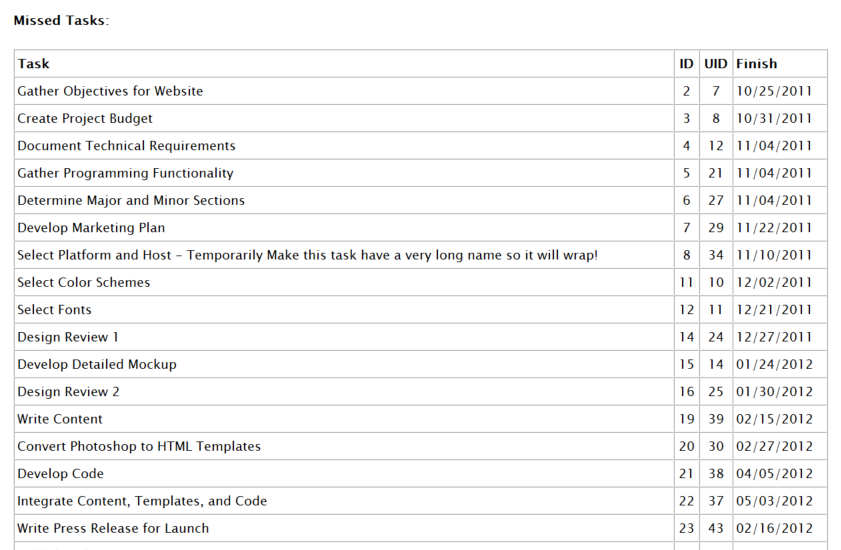
For quick reference, the task name and UID are typically included plus any fields that are relevant to the calculation.
The 14 point assessment requires that a few things are done to prepare the schedule. First, the schedule must be baselined. The schedule must have a status date. Non LOE tasks should have baseline durations greater than zero. If there is no baseline, the tool will not produce a report. If tasks are missing baseline values, we will produce a warning.
